Finding a Place to Record
Where will your vocal recording take place? The opportunities are endless, really... Besides professional recording studios, vocals can be easily recorded at home with the proper setup. If you don't have a home recording setup (or know someone who does), you might want to take a look at our guide to finding the right vocal recording studio to help you find the right location. If you do decide to head to a recording studio, you can skip the next section on recording software and hardware.
 Recording Software & Hardware
When you take recording matters into your own hands, it is imperative that you choose the right recording gear for the job. The sheer number of options available may seem intimidating at first, but here are a few tips.
You'll need a digital audio workstation (DAW) to start. Some of the most common DAWs include Protools, Cubase and Logic. If you don't want to invest in expensive software, many companies offer scaled down, cheaper versions of their titles. There are also free options available as well, though if you're planning on getting serious about recording you'll probably want to spend a few dollars on decent recording software.
You're also going to need an audio interface of some sort. This is the hardware that you will be plugging your microphone into (which then plugs into your computer, usually via USB or Firewire). Again, there are tons of options out there for interfaces, but there are plenty of basic affordable products such as the Mbox. Just be aware that the more expensive interfaces often boast better sound quality when recording. Music recording gear tends to be pretty straightforward with pricing; more expensive will get you better recordings and more options, while less expensive tends to deliver lower quality and fewer choices.
Choosing the Right Microphone
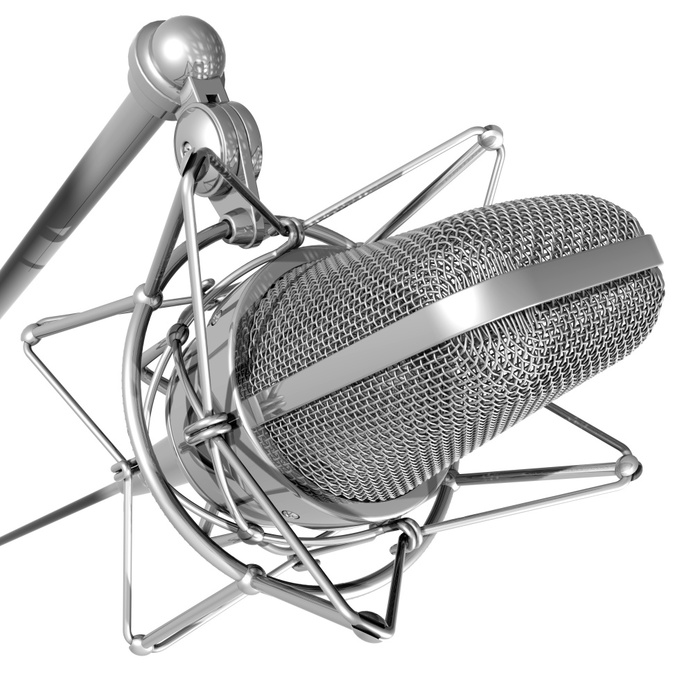
More than anything else, the microphone is probably the most crucial piece of recording gear you can buy when it comes to recording vocals. The best DAW in the world won't make a difference if you're singing into a $15 Radio Shack microphone. There are several different types of microphones, the most common being dynamic and condenser. Dynamic mics like the Shure SM-57 are typically more affordable, but tend to be better suited for live performance than for recording. Condenser mics can be pricier, but they'll give you a much crisper, more nuanced vocal track. That's why most engineers prefer to use higher end microphones for recording.
Getting Help: Producers & Engineers
Now that you've got the gear (or you've found a studio to record in), the best thing to do is find someone to help you with the recording. If you're renting a commercial recording studio, they will usually offer a staff engineer for your project. Your decision shouldn't start and end there, however. Besides pressing the record button, it's important to have someone around who can help you get the best out of your vocal performance: in other words, a producer. A producer could be anyone, really, as long as they can get results. It could be an engineer that you trust who can give you tips on getting the perfect take; a voice teacher who can help you sing properly for better performance; a musician friend who understands your vision for the project and can be an objective opinion to help you achieve it.
But even if you can't find a producer, just having an engineer who can worry about the technical side of the recording and let you think about the singing will be a great help. If you're recording vocals while simultaneously messing with your computer, trying to set up new takes and manage the recording process, you're likely to get distracted and may not get the best performance on tape. So even if it's not someone who inspires you, it's a huge plus just to have someone to run the session while you sing.
Comping and Tuning the Perfect Take
Always remember that even great singers don't usually nail the perfect take over the course of a single attempt. And in today's music industry, flawless vocals are the name of the game. What you'll want to do is record multiple takes of yourself singing the song (make sure your voice is properly warmed up before you start). You can go back and re-sing specific sections if they're particularly challenging. When you feel as though you've gotten at least a few great performances for each section of your song, edit them into a single, perfect take through a process called "comping." Different DAWs have their own tools for comping, which involves taking the best pieces of each take and using crossfading to blend them seamlessly together.
Like it or not, vocal tuning is also a big part of today's music. There are several plug-ins (including the most famous, Autotune) that will help you pitch correct your vocal track. This is best used as a tweaking tool and not as a way to make up for a bad vocal performance. For example, there might be a line where you loved the delivery, but one note is slightly flat—this is a great place to use vocal tuning.
Recording vocals can be quite an involved process, but getting that perfect vocal is incredibly rewarding, not to mention very important for your song. If you're not experienced in using vocal tuning plug-ins, let Studio Pros do vocal tuning for you. Just send us your vocal part and any instructions you have and we'll tune them to perfection for you!


